When it comes to software development it thrives on collaboration between developers. Version control systems like Git, and Apache Subversion, along with pull requests (PRs), are the foundation of this collaborative spirit. But for beginners, the concept of pull requests can seem intimidating. But don’t worry, budding programmers! This guide will help you with the knowledge and skills to create high-quality pull requests that impress your team and showcase your coding skills.
What are Pull Requests?
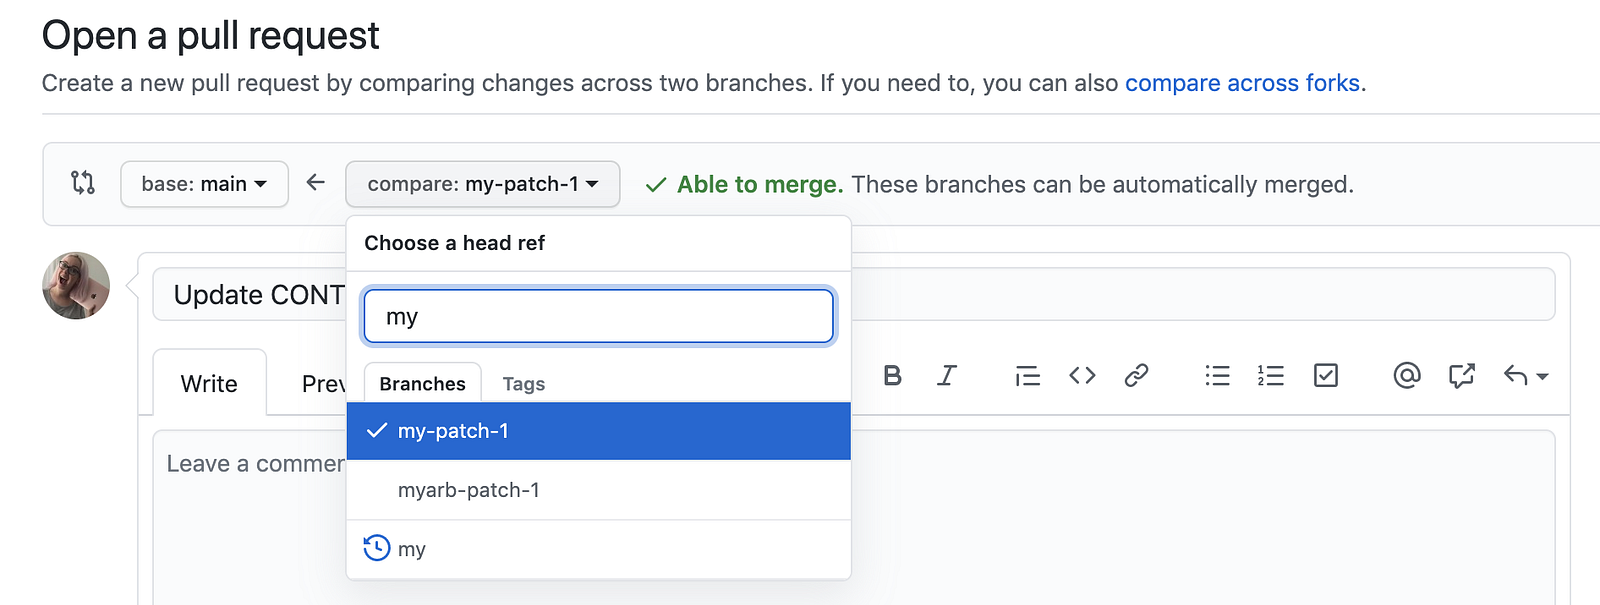
Suppose you are working on a massive problem. You have completed a small section, but if you want to integrate it into the whole solution, you need to share it with your teammates. That is the essence of a pull request. You propose changes to the existing codebase through a pull request, allowing others to review, approve, and integrate them into the solution.
Steps for crafting high-quality pull requests:
Now that you grasp the concept, let’s dive into the art of crafting stellar pull requests:
1) Clearly Define Your Changes
- Start with a Meaningful Title: A clear and concise title (e.g., “Fix typo in the login page”) is your first impression.
- Follow your Projects’s Naming Conventions: Sometimes there are pre-defined conventions for naming a pull request in the project that you work for. For example- In my company, We start the PR title with the story number followed by the story name (e.g., “APP-10 Fix typo in the login page” ).
- Write a Descriptive Body: Expand on the title in the PR description. Explain the purpose of your changes, how they address an issue, or what functionality they add.
- Add Screenshots when Working on UI: Always include relevant screenshots inside the PR description body whenever you make a UI change or want to showcase something. This helps the reviewer get a better understanding of the changes made in the PR.
- Attach external links: Attach a link for the story that addresses changes in the PR.
2) Keep it Small and Focused
Small-sized PRs are easier to review and integrate. Focus on a single issue or feature at a time. Break down larger changes into logical, smaller PRs. It is much easier to review a PR that contains changes in a couple of files than review a PR that has changes in 50 different files.
3) Maintain Code Cleanliness:
- Commit Hygiene is Key: Organize your local changes logically using Git commits. Squash related commits into clear units and write descriptive commit messages that reflect the specific change each commit introduces.
- Create a branch Strategically: Create a dedicated branch for each PR to avoid conflicts and streamline the merge process.
4) Comments are Your Code Companions:
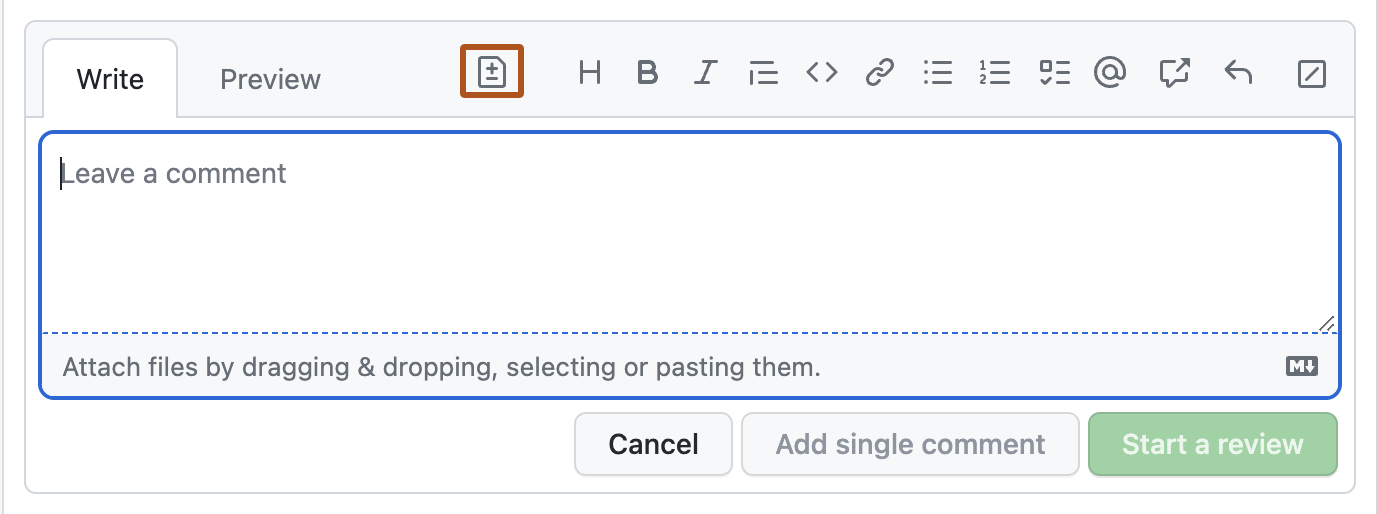
- Explain Non-Obvious Logic: Add comments to clarify complex code sections or explain the reasoning behind specific choices. Additionally, you may include links in your comments to acknowledge any external references that inspired your code.
- Document Assumptions: If your code relies on assumptions about existing code behavior, document them as comments. This helps the code reviewer figure out and help you if you missed any conditions.
5) Test Thoroughly, Then Test Again:
- No Test No Submission: Don’t submit a PR without testing your logic. Always test your changes first and only then create a PR and submit it for review.
- Write Unit Tests: Demonstrate your commitment to quality by writing unit tests that verify your changes function as expected.
6) Request Reviews Wisely:
- Choose Relevant Reviewers: Select reviewers familiar with the code you’ve changed. This ensures they can provide targeted feedback. A relevant reviewer can be your team lead or a senior you are collaborating with.
- Provide Clear Instructions: Guide reviewers by highlighting specific areas you’d like them to focus on during the review.
- Be Polite, Always: If the reviewer misses to review your PR on time, gently drop them a message reminding them to review your PR.
7) Embrace Feedback and Collaboration:
- Respond On Time: Address reviewer comments thoughtfully and promptly. Be open to suggestions and willing to adapt your code based on constructive feedback.
- Ask Questions: Don’t hesitate to ask questions if a reviewer’s comment is unclear or does not make sense.
- Merge with Confidence: Once the review process is complete and your changes are approved, squash your commits and merge your branch. This keeps the project history clean and avoids unnecessary clutter.
8) Additional Tips:
- Follow Project Guidelines: Most projects have established guidelines for creating PRs. Familiarize yourself with these guidelines and follow them.
- Stay Up-to-Date: The world of Git and PRs is constantly evolving. Keep yourself informed about best practices and emerging trends.
By following these steps and continuously improving your skills, you’ll be well on your way to becoming a pull request pro! Remember, high-quality pull requests not only streamline the development process but also showcase your coding skills and attention to detail, making you a valuable asset to any development team.
Now that you have mastered the skill of creating a pull request, you should also check out my article on how to do better code reviews.
Cheers! 🍻

